So Like i said earlier I would be sharing where I found the original pattern. Click the link below to find her pattern. And thank you for sharing with the world!
Now What I did to tweek this pattern because I was finding that with the size hook and my tention when I sewn them shut it would curl so I did my own patterns and I will write it below. Sorry No pics for this one.
FOr this pattern I used an H or 5.0mm hook
Ch – Chain
SC – Single Crochet
BLO – Back Loop only
2SCTOG – 2 single crochet together.
FO. – Fasten Off
Chain 21 (just like in the original pattern.) Leave a nice long tail to use for sewing it all together.
Row 1. 2 sc in the second Chain from the hook. (Now I work in the back of the chain in the spine part to get a cleaner finish. But that is totally up to you.) Then sc in each stitch to last 2 stitches. Last 2 stitches 2sctog. Ch 1 turn.
Row 2. Working in BLO from this row to the end, In the next 2 stitches 2sctog. Sc to the last stitch. In the last stitch 2 sc. Ch 1 Turn.
Row 3. Repeat row 1.
Row 4. Repeat row 2.
As you can see the odd rows start with an increase and the even rows start with a decrease. Just keep track of your rows until you get to row 24.
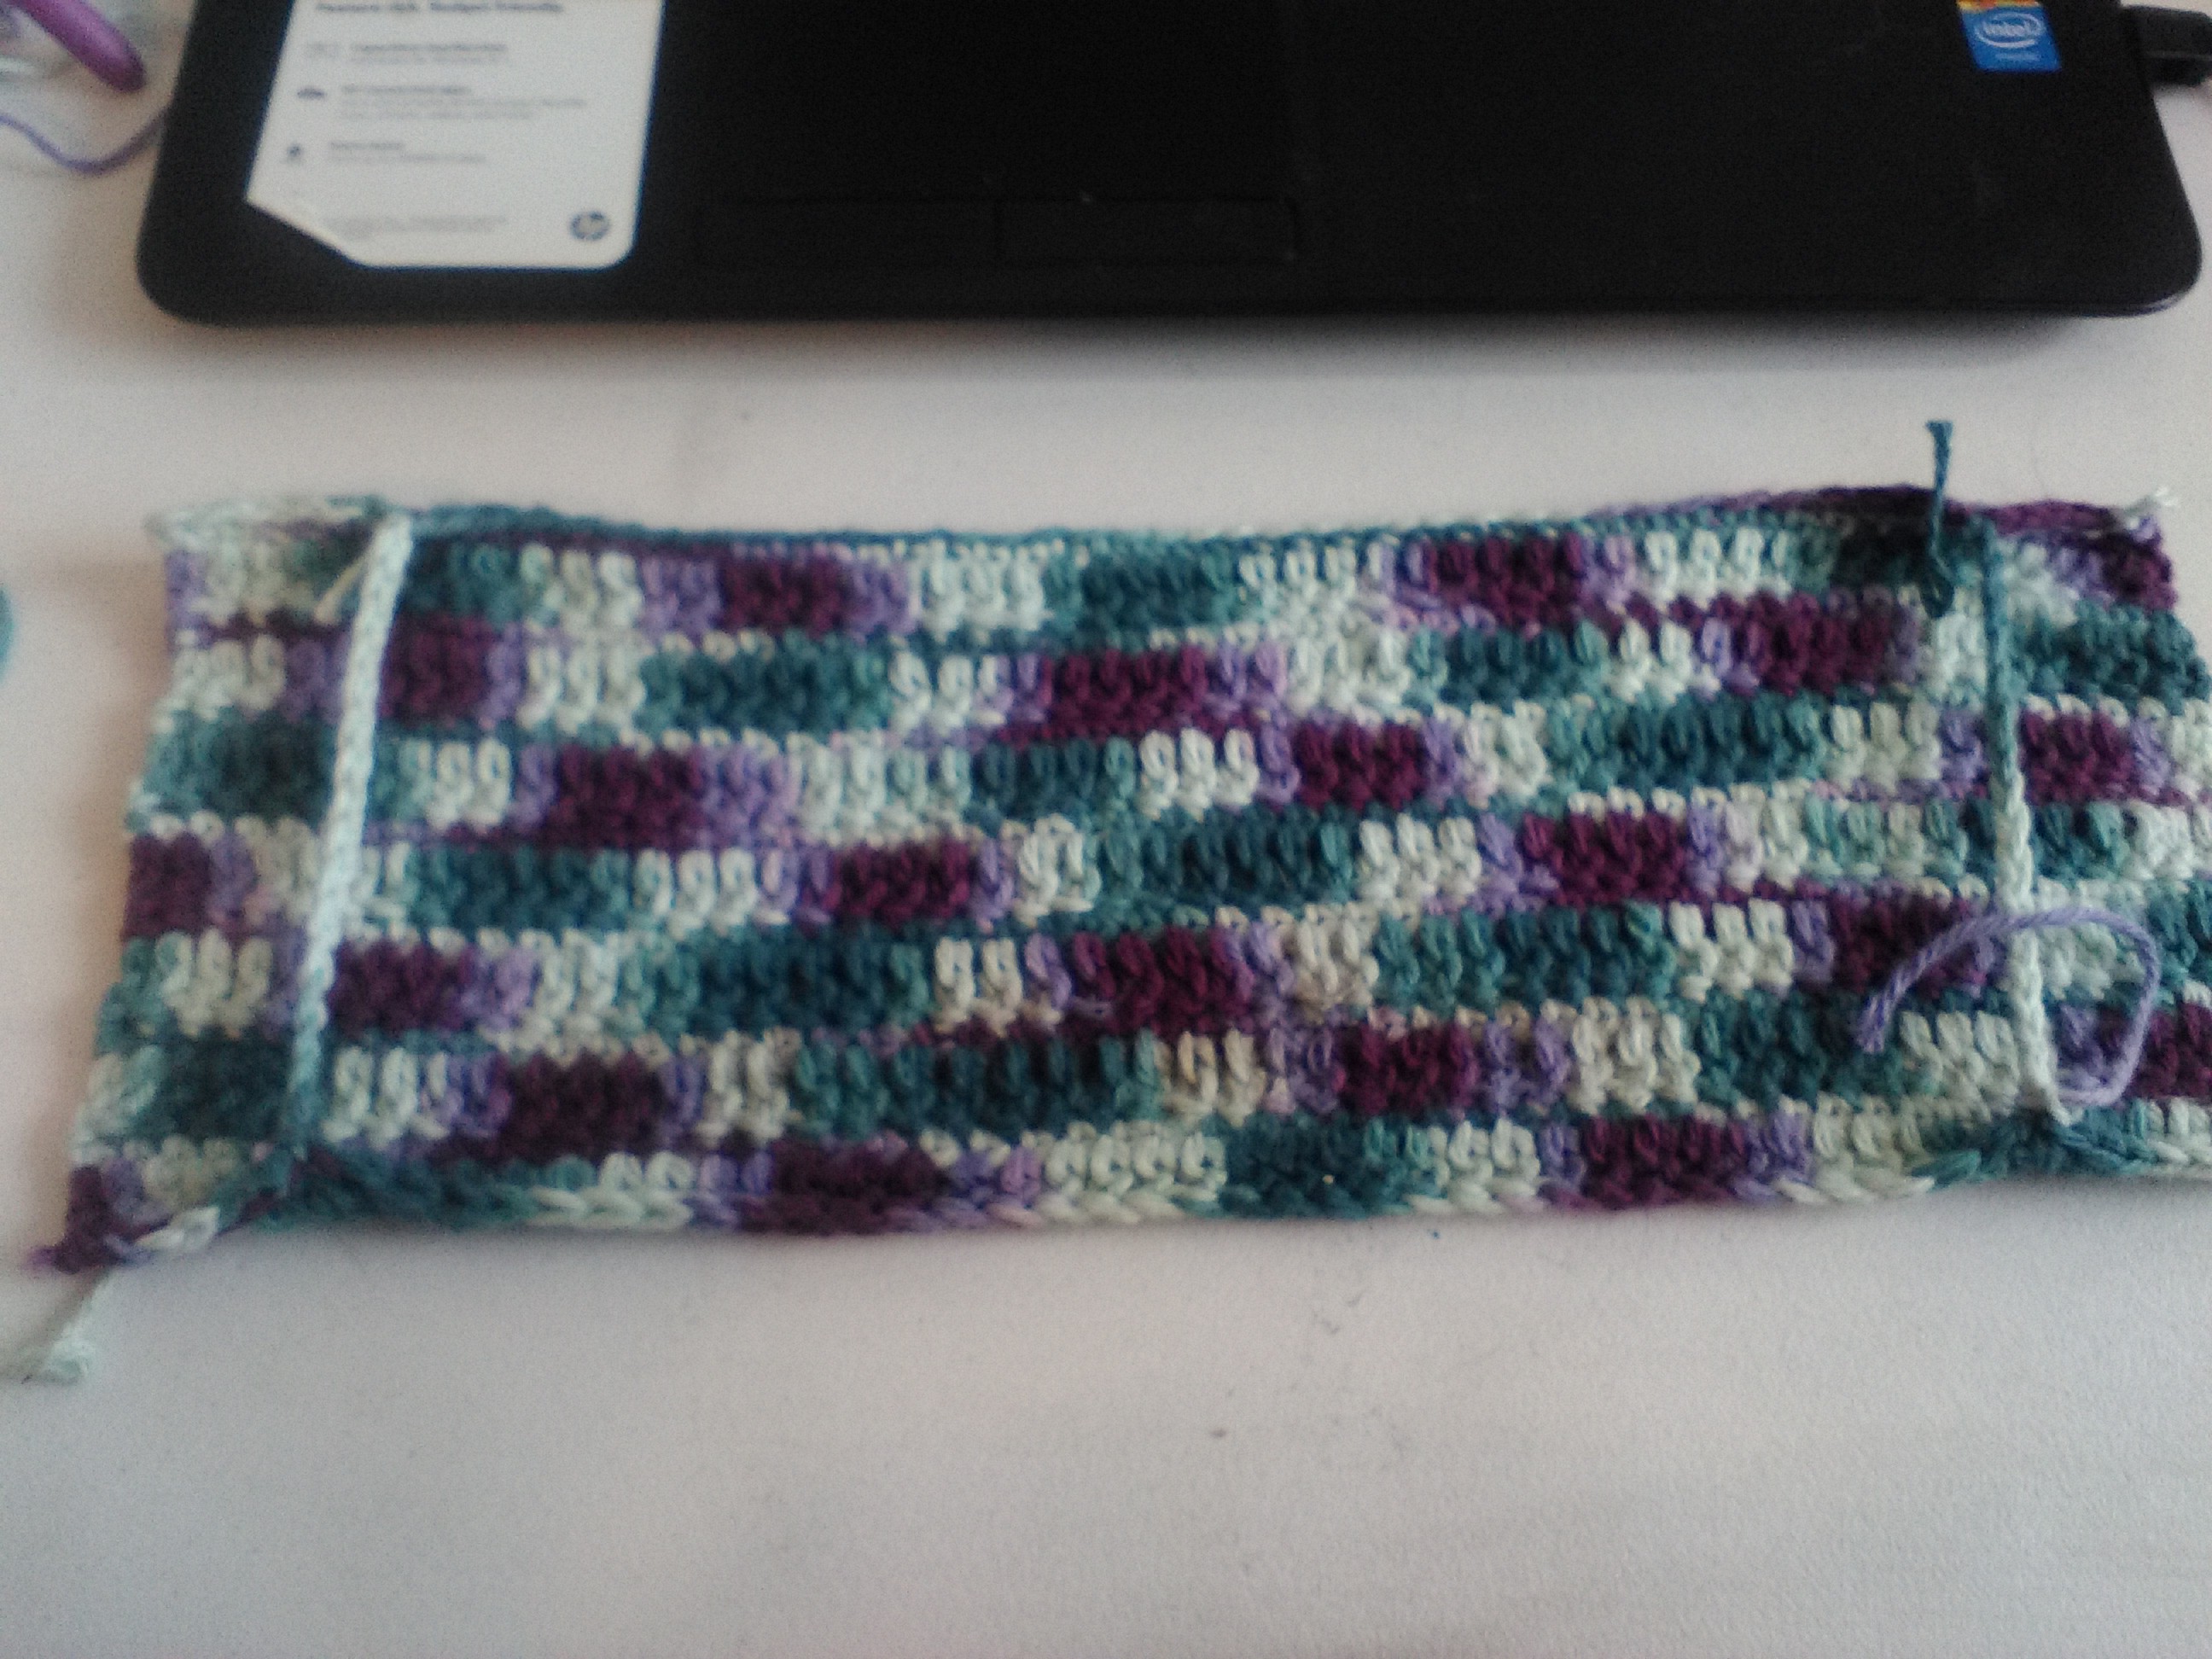
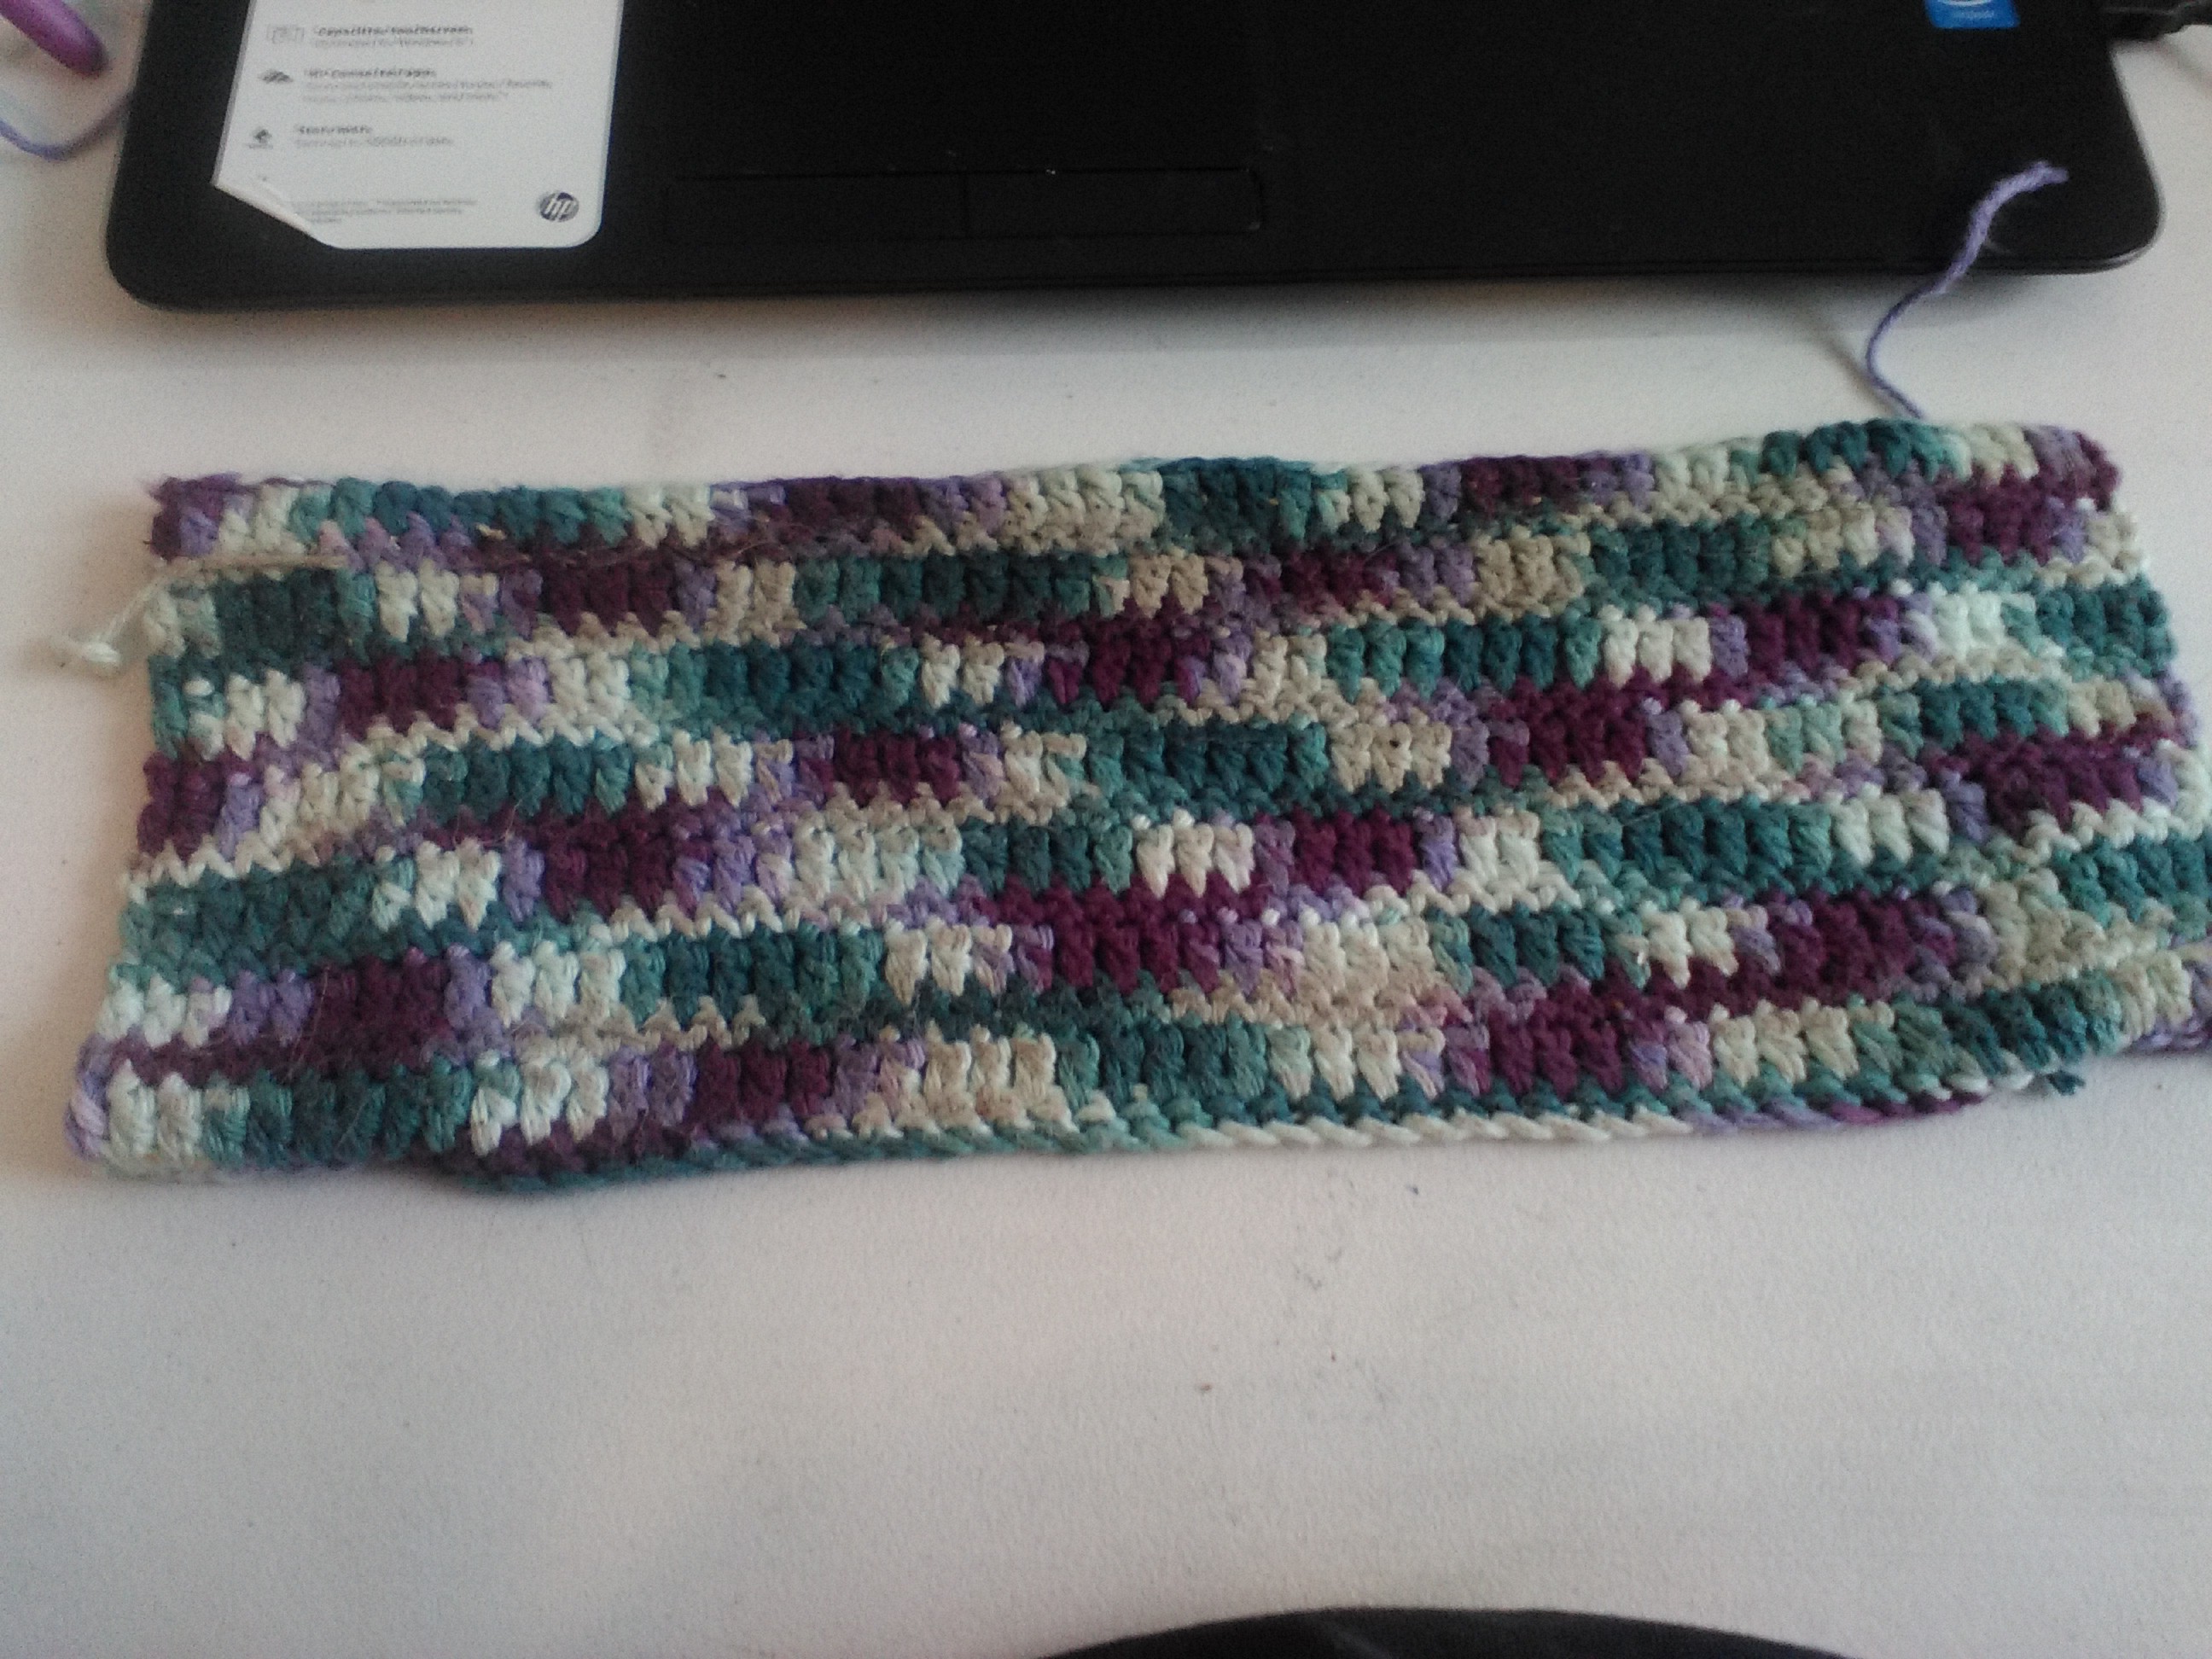
This is where I changed something with the pattern. In the original pattern it says to crochet 21 rows. And I did that and was not happy with the outcome. So for the second batch I kept going till I hit 24 rows. Now when you end you on an even row the tail will be on the opposite side of the starting tail. you have 2 choices. You can either weave the tail to the ride end of the project or just throw one more row in there. It is totally up to you. I did both and I could not see the difference. I will show you in the picture below.

Ok the one with more stripes I did only to row 24 and FO. With the one with only 4 strips I did 25 rows. So ok you still with me?
Now the sewing part. Grab your darning needle. and join the 2 ends up the starting and the last rows. I used the whip stitch to sew them together good and tight. Then I turned it inside out and on the same side you end up with the opening of the scrubby, I wove the yarn in and out around that opening and when I went full circle I pulled real tight and sewed it shut, knotted tight and hid my knot. Now that side is done. Just thread the other tail through your needle and repeat the weaving in and out for the other side pull tight to close everything up and make your knot. You just made your scrubby.
Note if you want the spiral color change like you see with mine. The scrubby with more stripes I changed every 3 rows. All I did was fasten off weave in the tail and worked it into the next row and color. So I got 8 different color changes in that one. For the scrubby with less stripes but thicker stripes. I did the color change ever 6 rows to get 4. Yep I did some mental math on this pattern lol. And like I said for the last row I just threw in that extra row so I would not have to weave 2 feet of tail to the right side of the project.
That is it any questions please feel free to ask. See any mistakes in the pattern give a shout I can fix it. I am writing this on the fly while it is quiet at my house. Enjoy your scrubby and as always Happy Crochet!!!